Enable Bitcoin Payments on Shopify via Tiankii
Enable Bitcoin payments on Shopify
The Shopify connector asks for your store name, or your myshopify domain, and then shows a second step titled Install Tiankii app. It does not ask for a token from a custom app on this screen.
Who this is for
- The Merchant Dashboard on the web.
- A Shopify store whose name or myshopify domain you can type.
- Starter or a higher plan. Freemium shows the card and does not open the form.
Before you start
- The store name, or the myshopify domain, without inventing a path.
- You are connecting Shopify so the store can take bitcoin. This is not a card charge and it is not a Chivo balance.
Open Connectors
- Open pay.tiankii.com.
- In the side menu, open Payment Tools and then Integrations.
- The page title is Connectors. The line under it is eCommerce Integrations.
Which plan opens the form
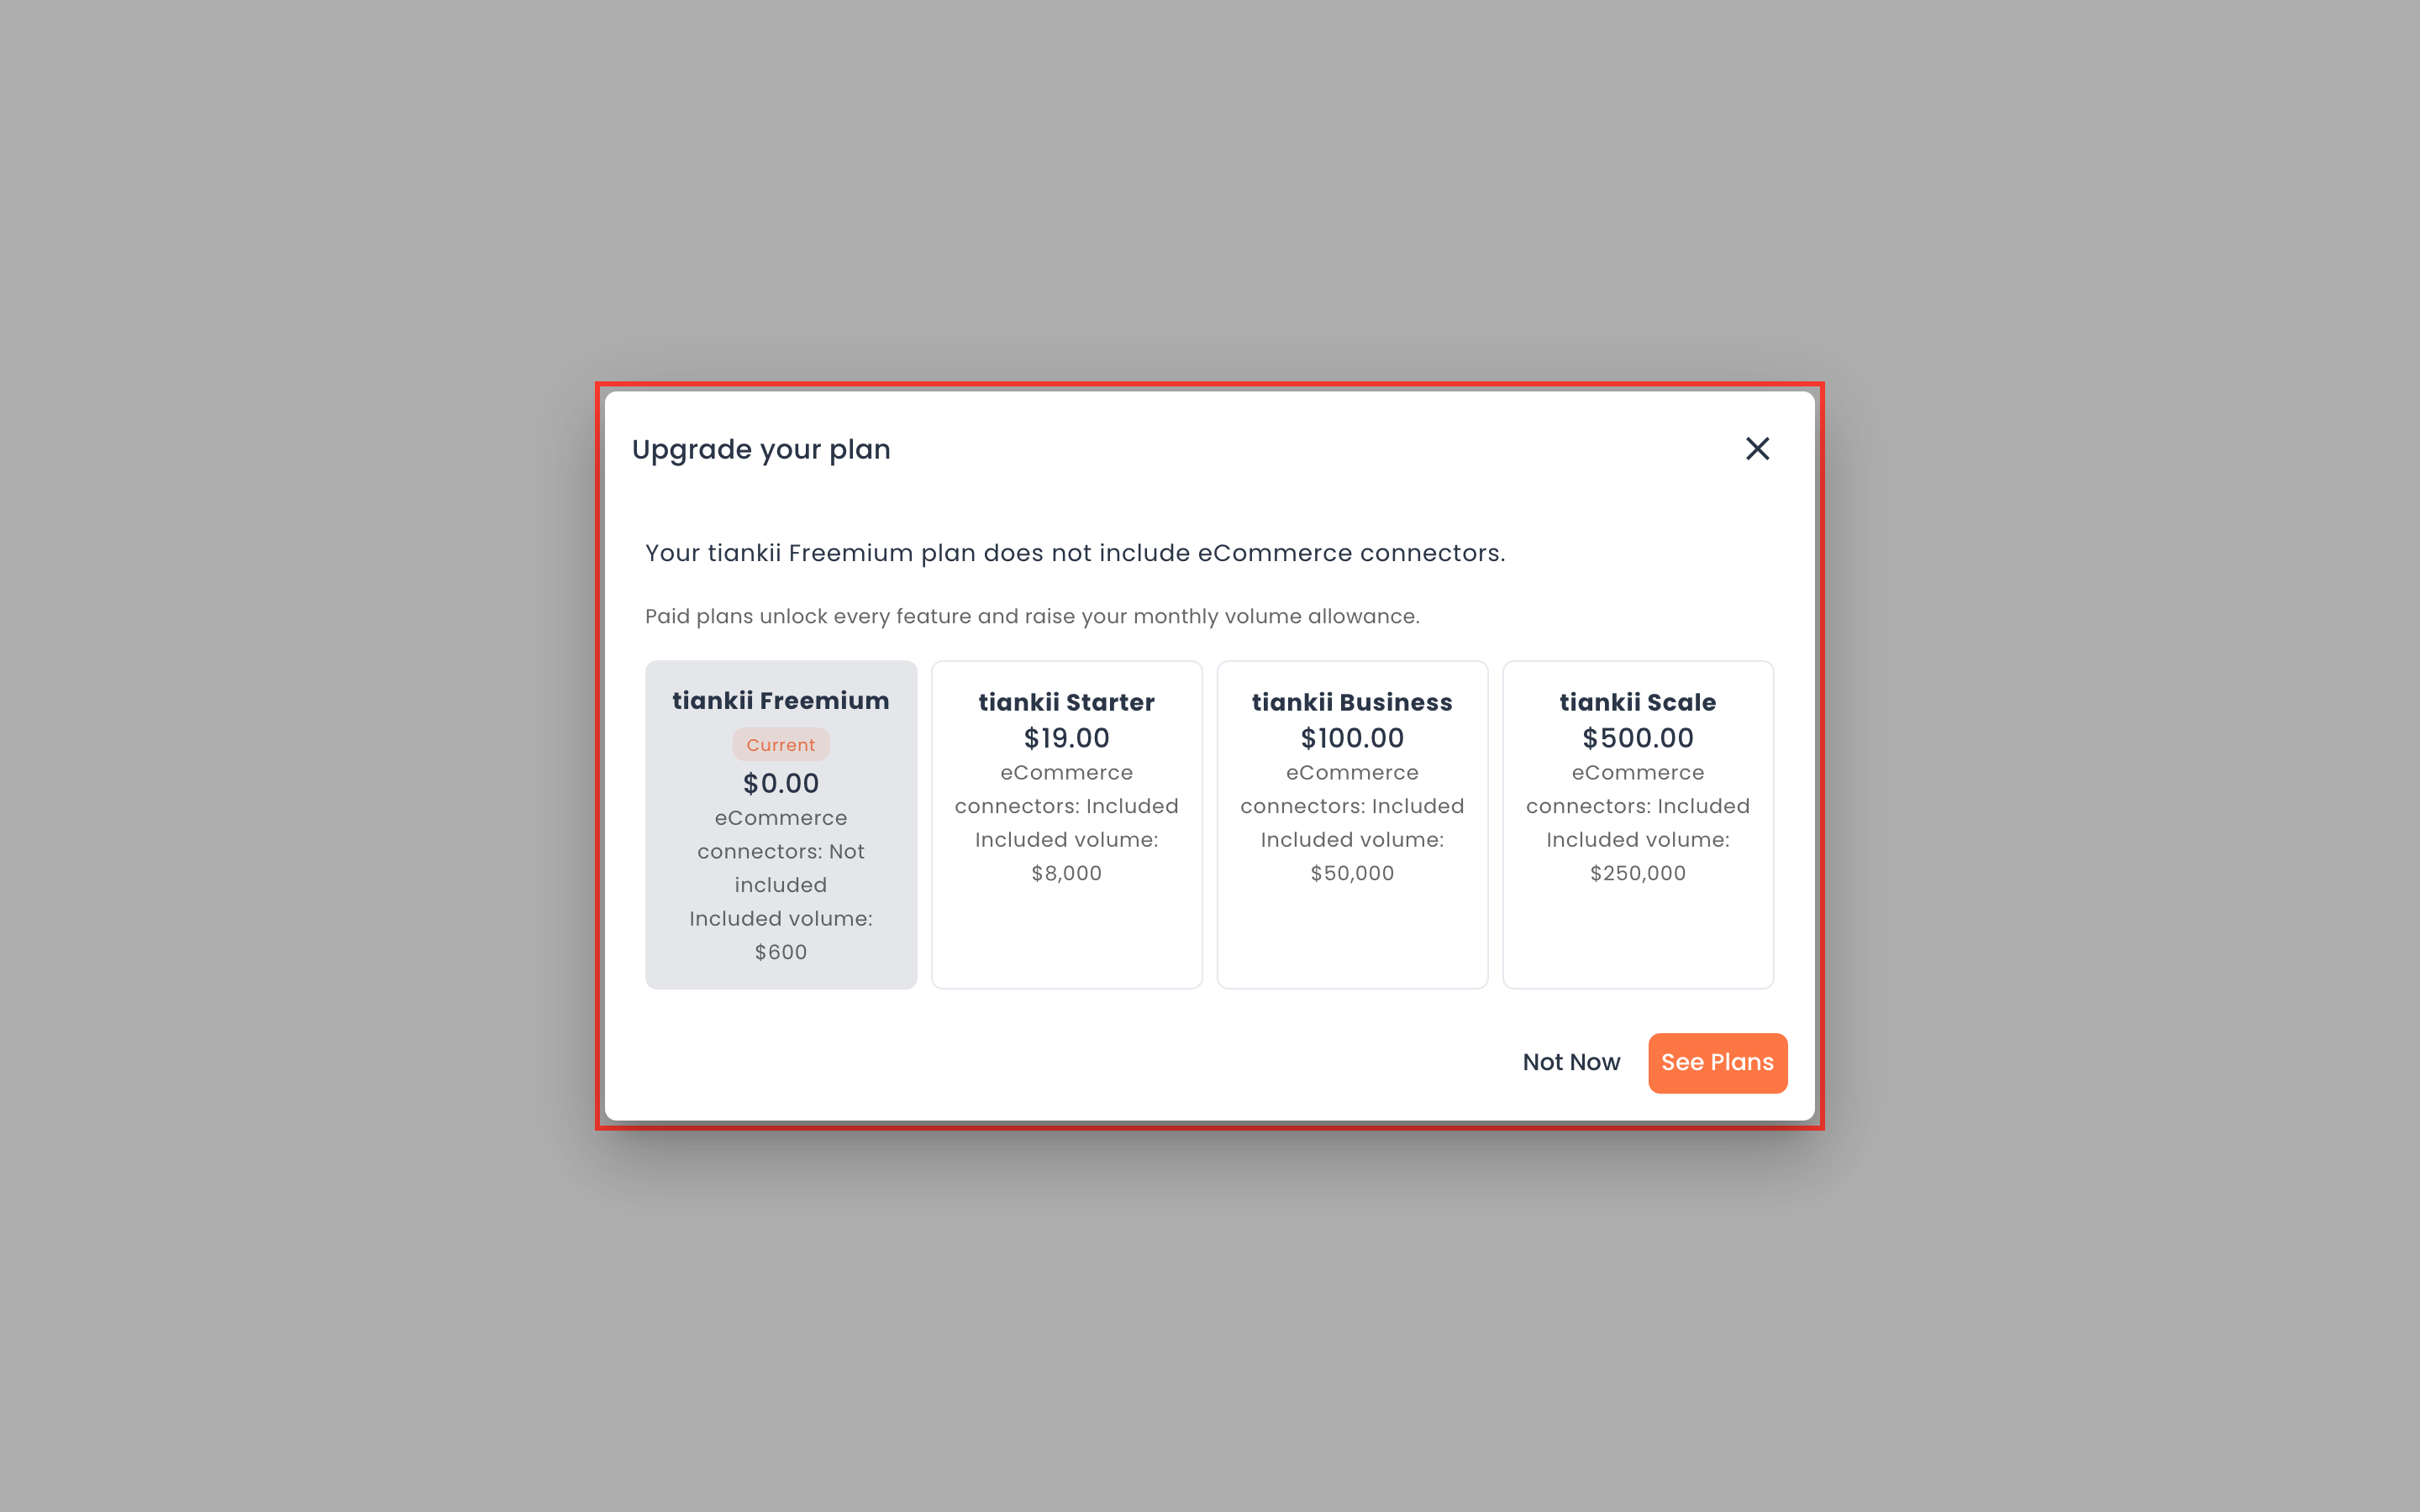
On a Freemium store the Shopify card says Available From Tiankii Starter and eCommerce connectors are not part of your current plan. Existing connections keep working. There is no Connect button on that card. Opening the connector address shows Upgrade your plan. This article does not press See Plans.
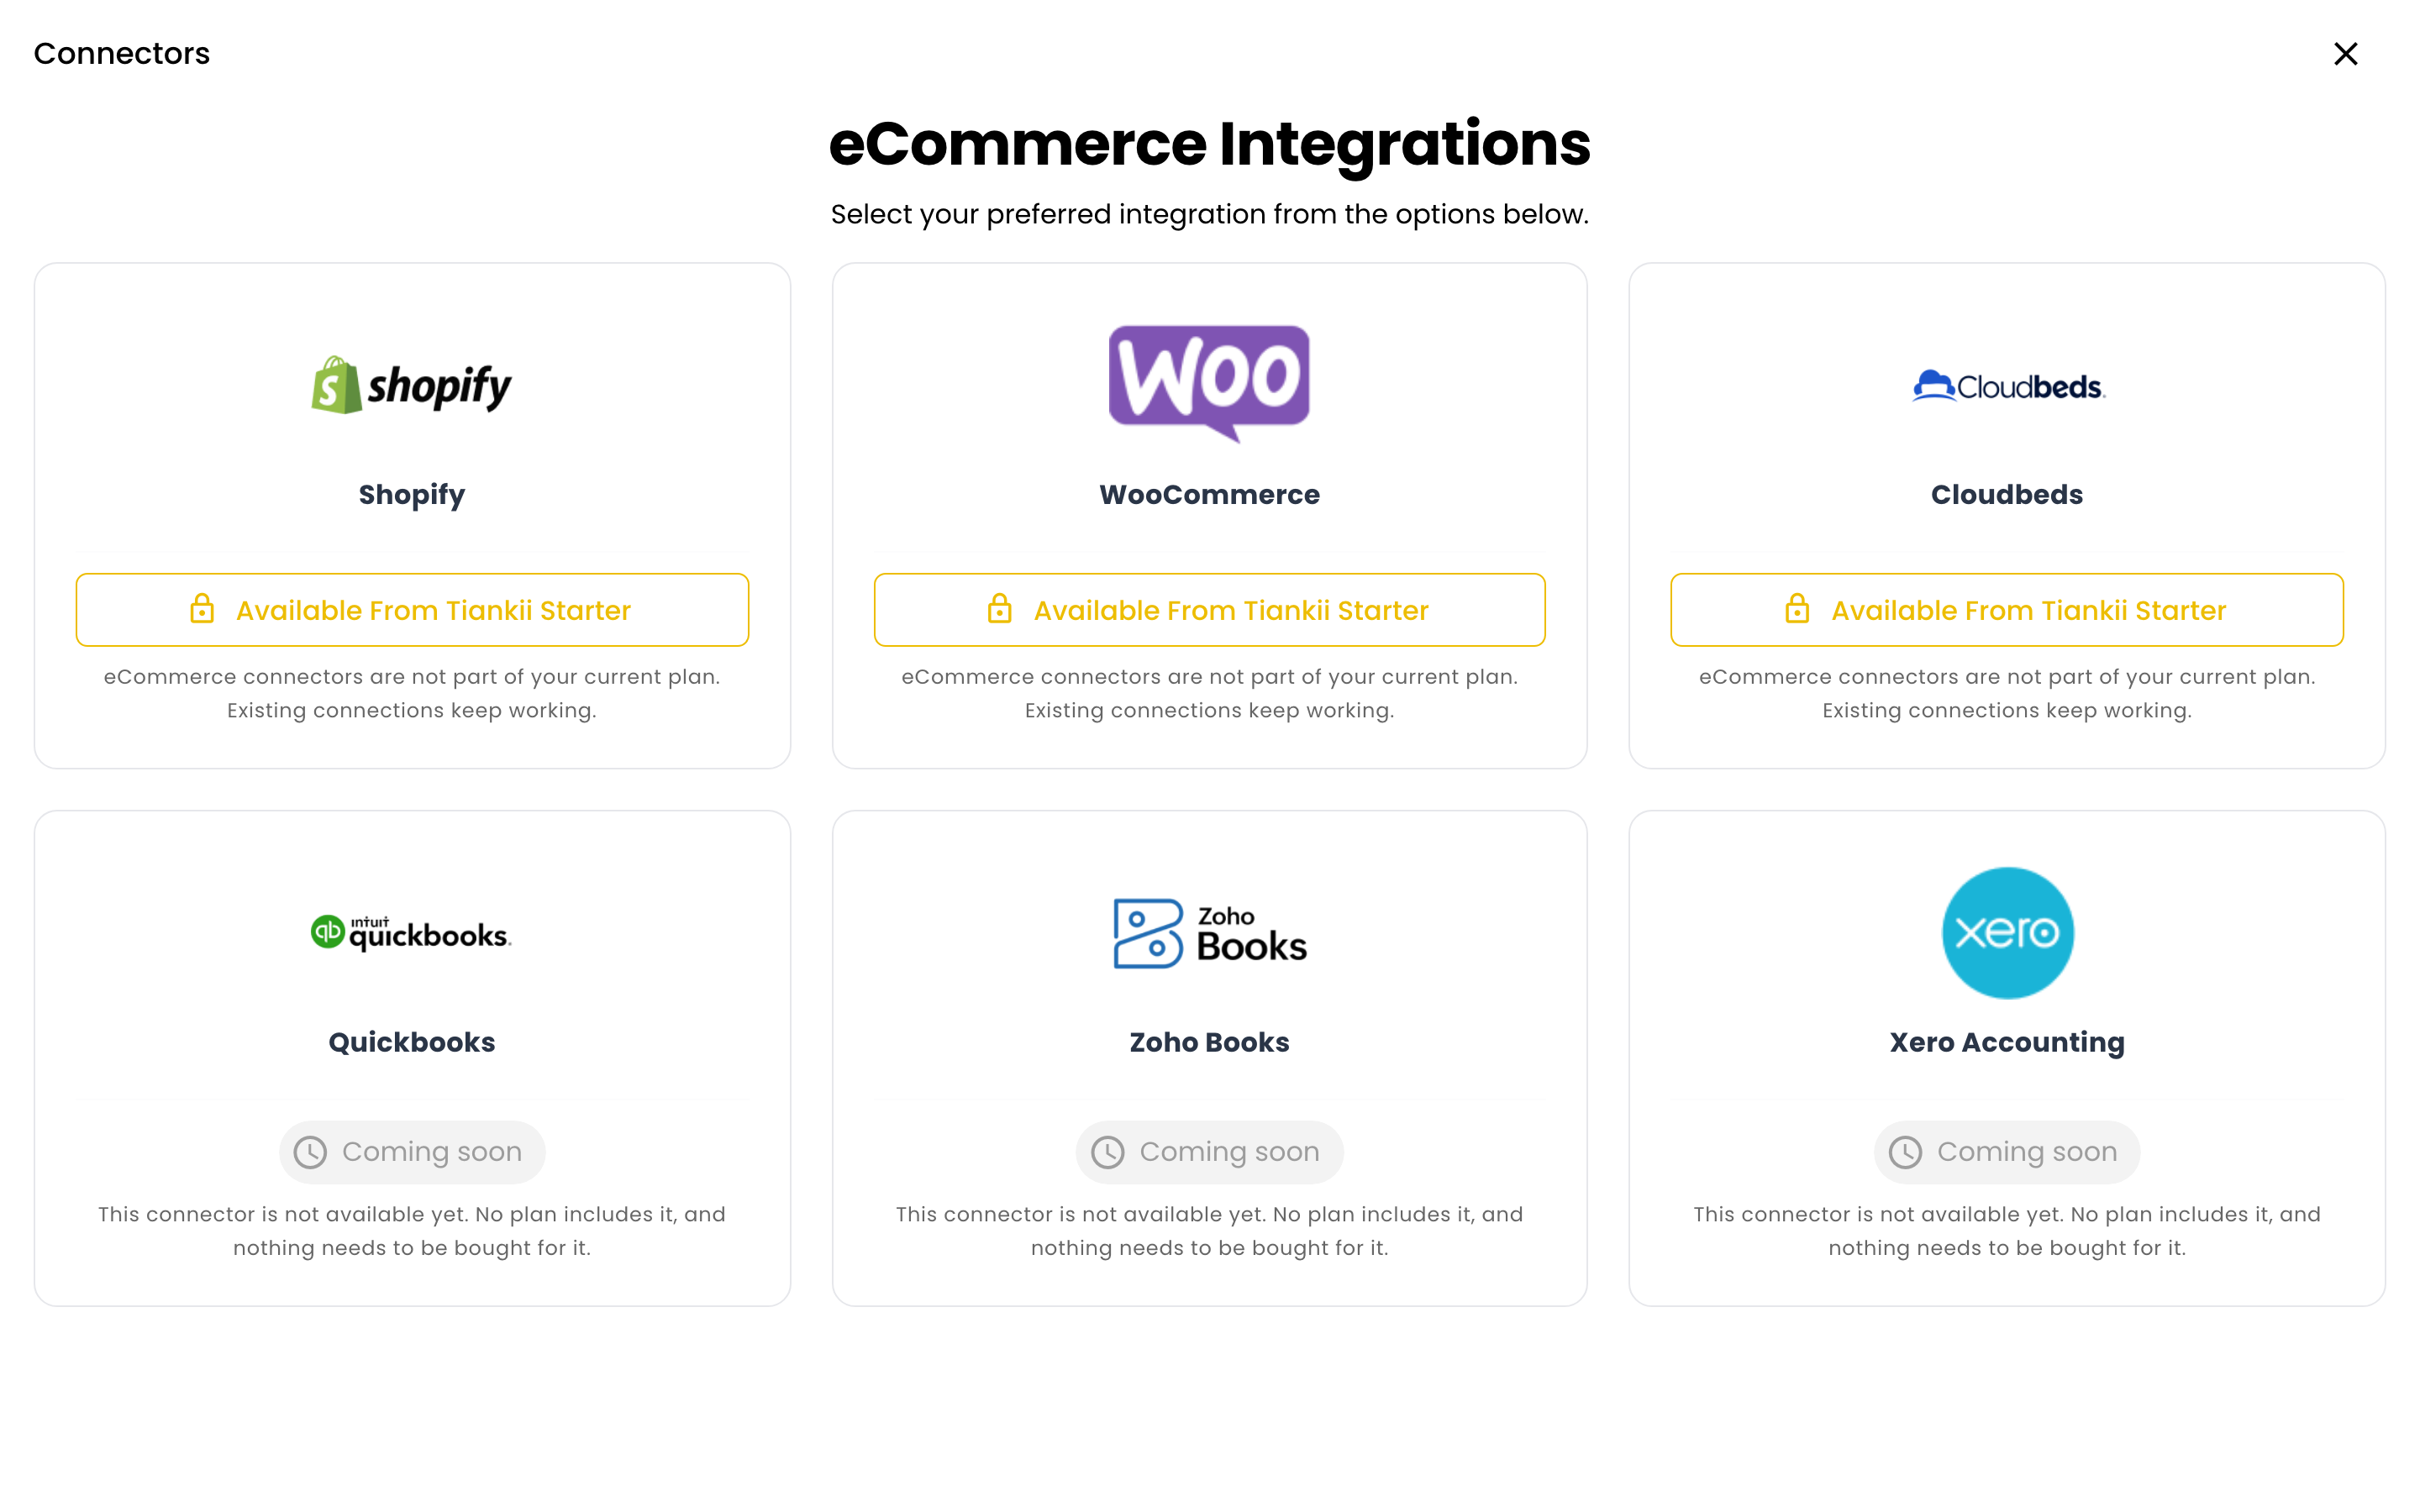
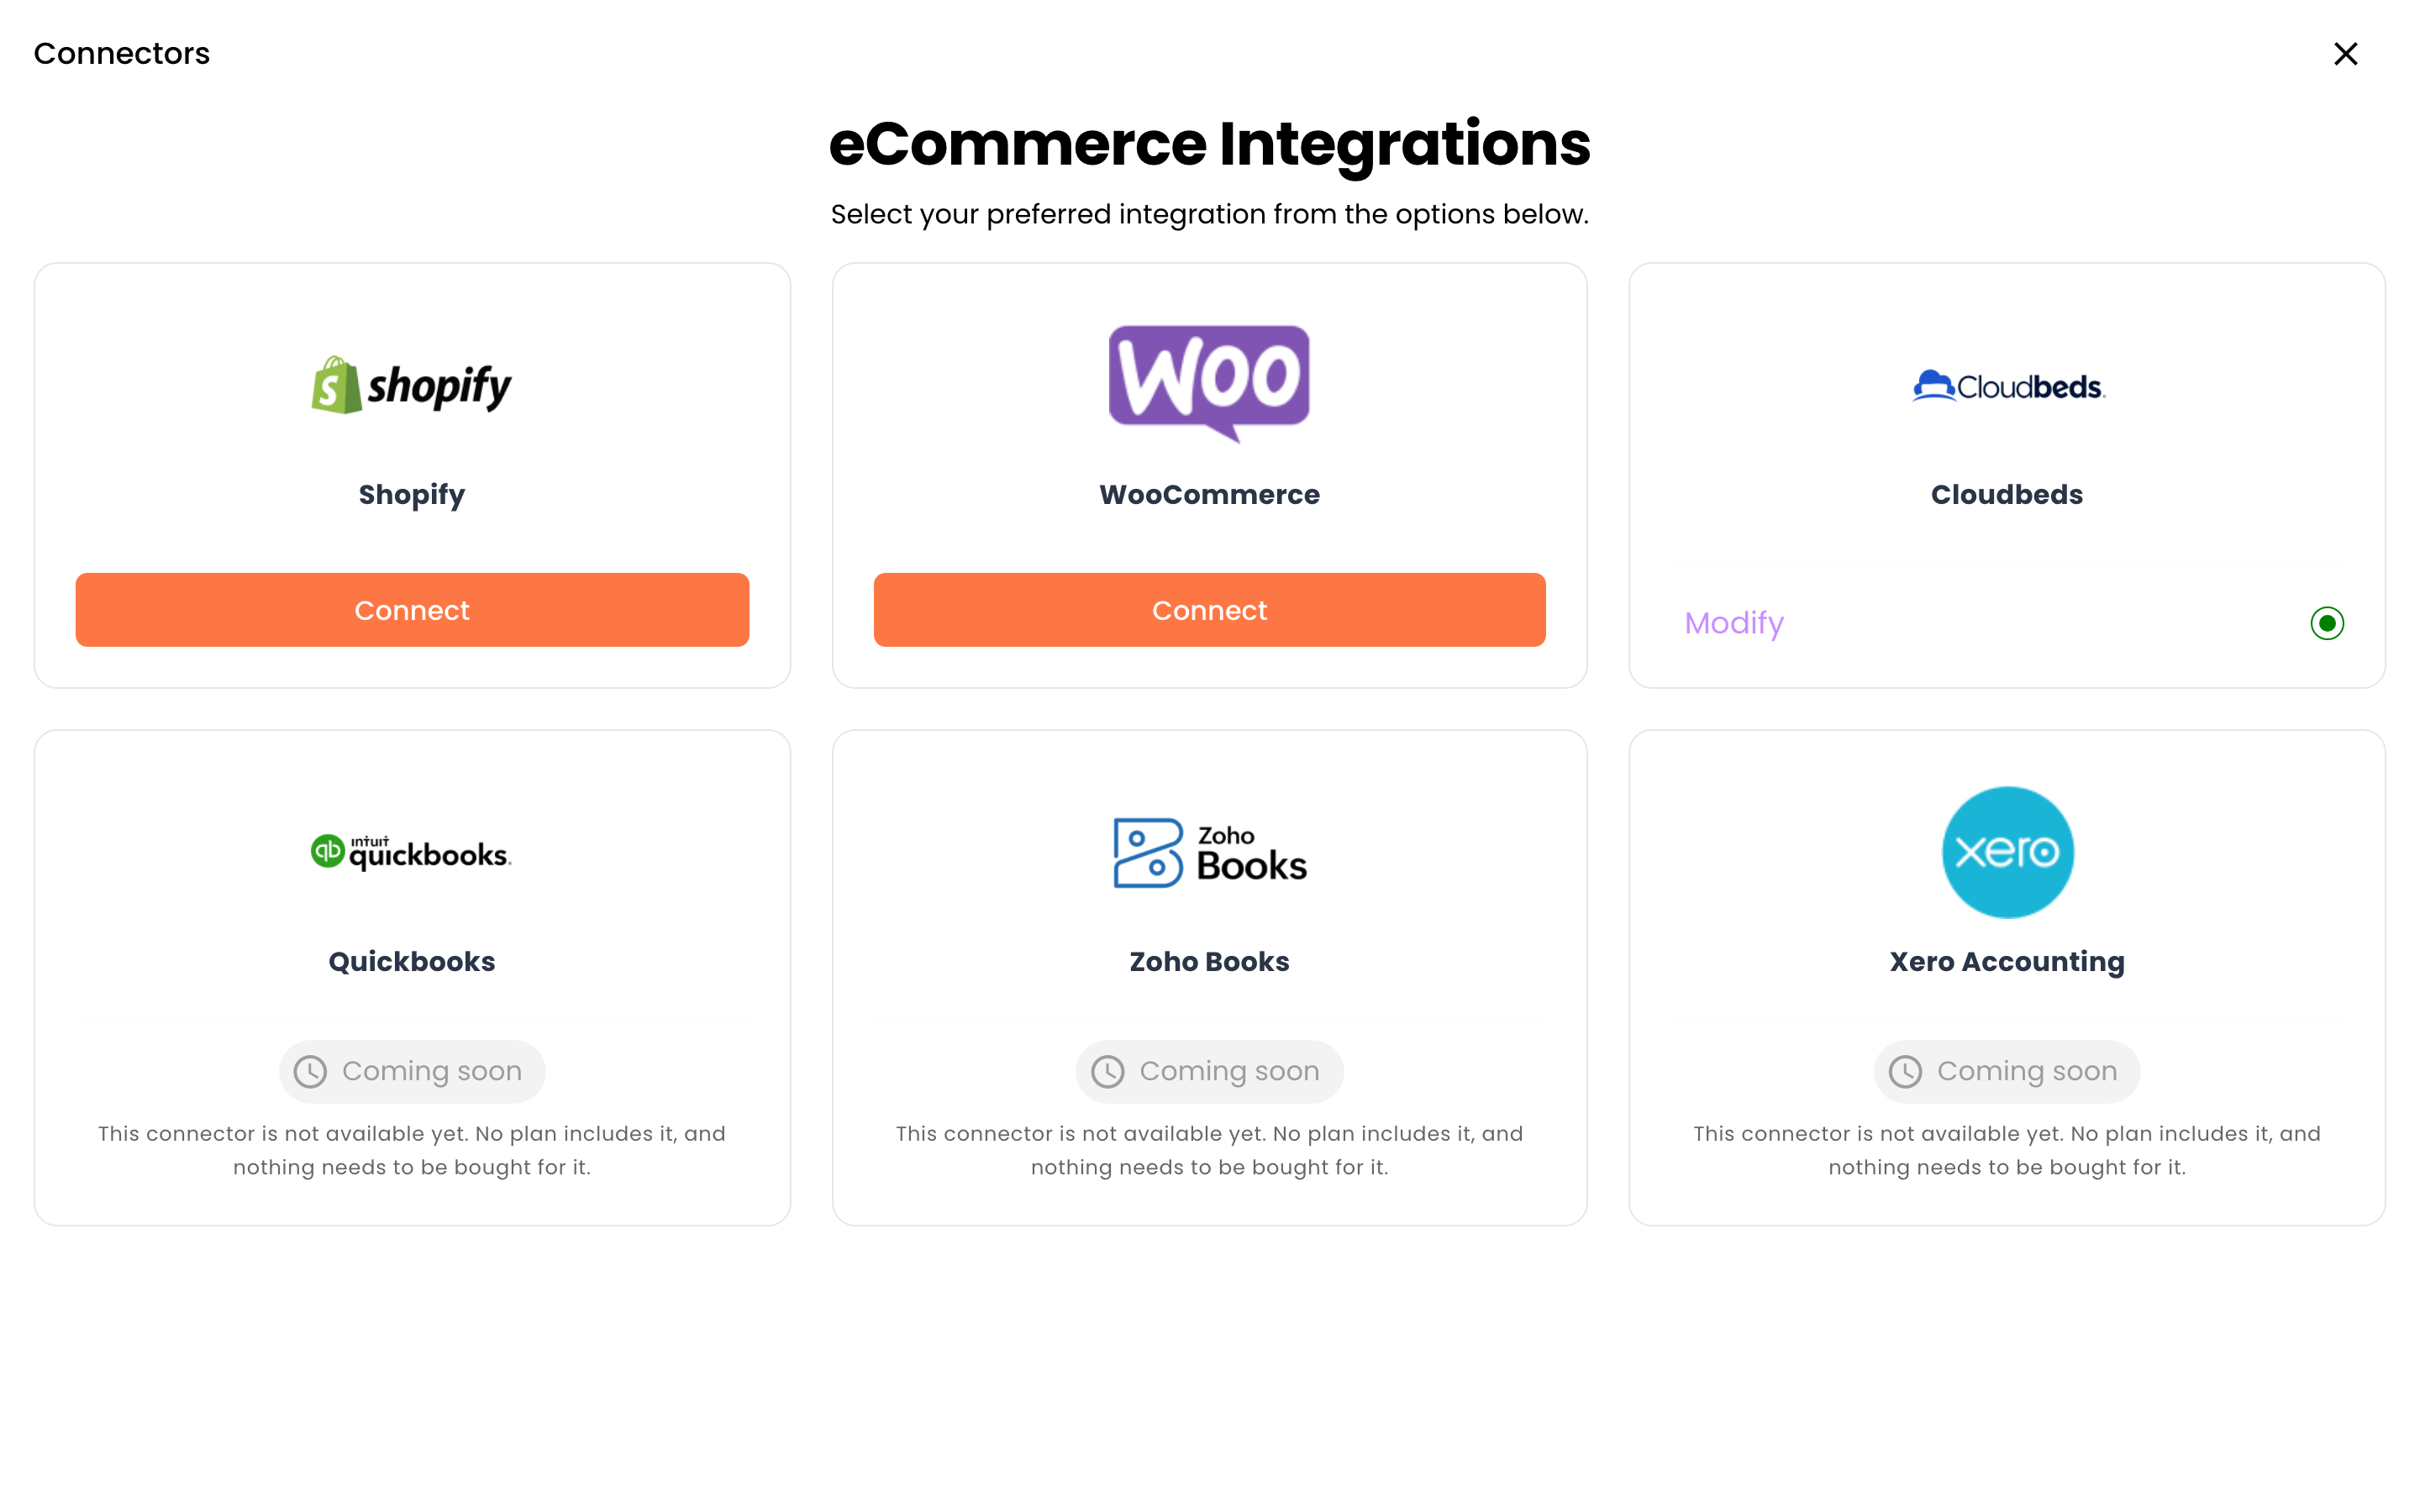
On Starter the same card has Connect. QuickBooks, Zoho Books and Xero Accounting say Coming soon and No plan includes it, and nothing needs to be bought for it. This article does not cover those three.
Fees

tiankii does not take a commission on each payment. Your plan includes a monthly volume; if you go over it, an overage charge may apply under Section V of the Terms. Shopify, WooCommerce and Cloudbeds may charge their own fees.
The overage charge only starts being collected after we notify you under Section XIII of the Terms, and never for months before that notice.
The overage charge is a charge for using the dashboard, billed separately. It is not a commission on your bitcoin and is not deducted from the payments you receive.
What each plan includes is in See what each plan includes. How volume is counted is in How included volume is counted.
What the form asks
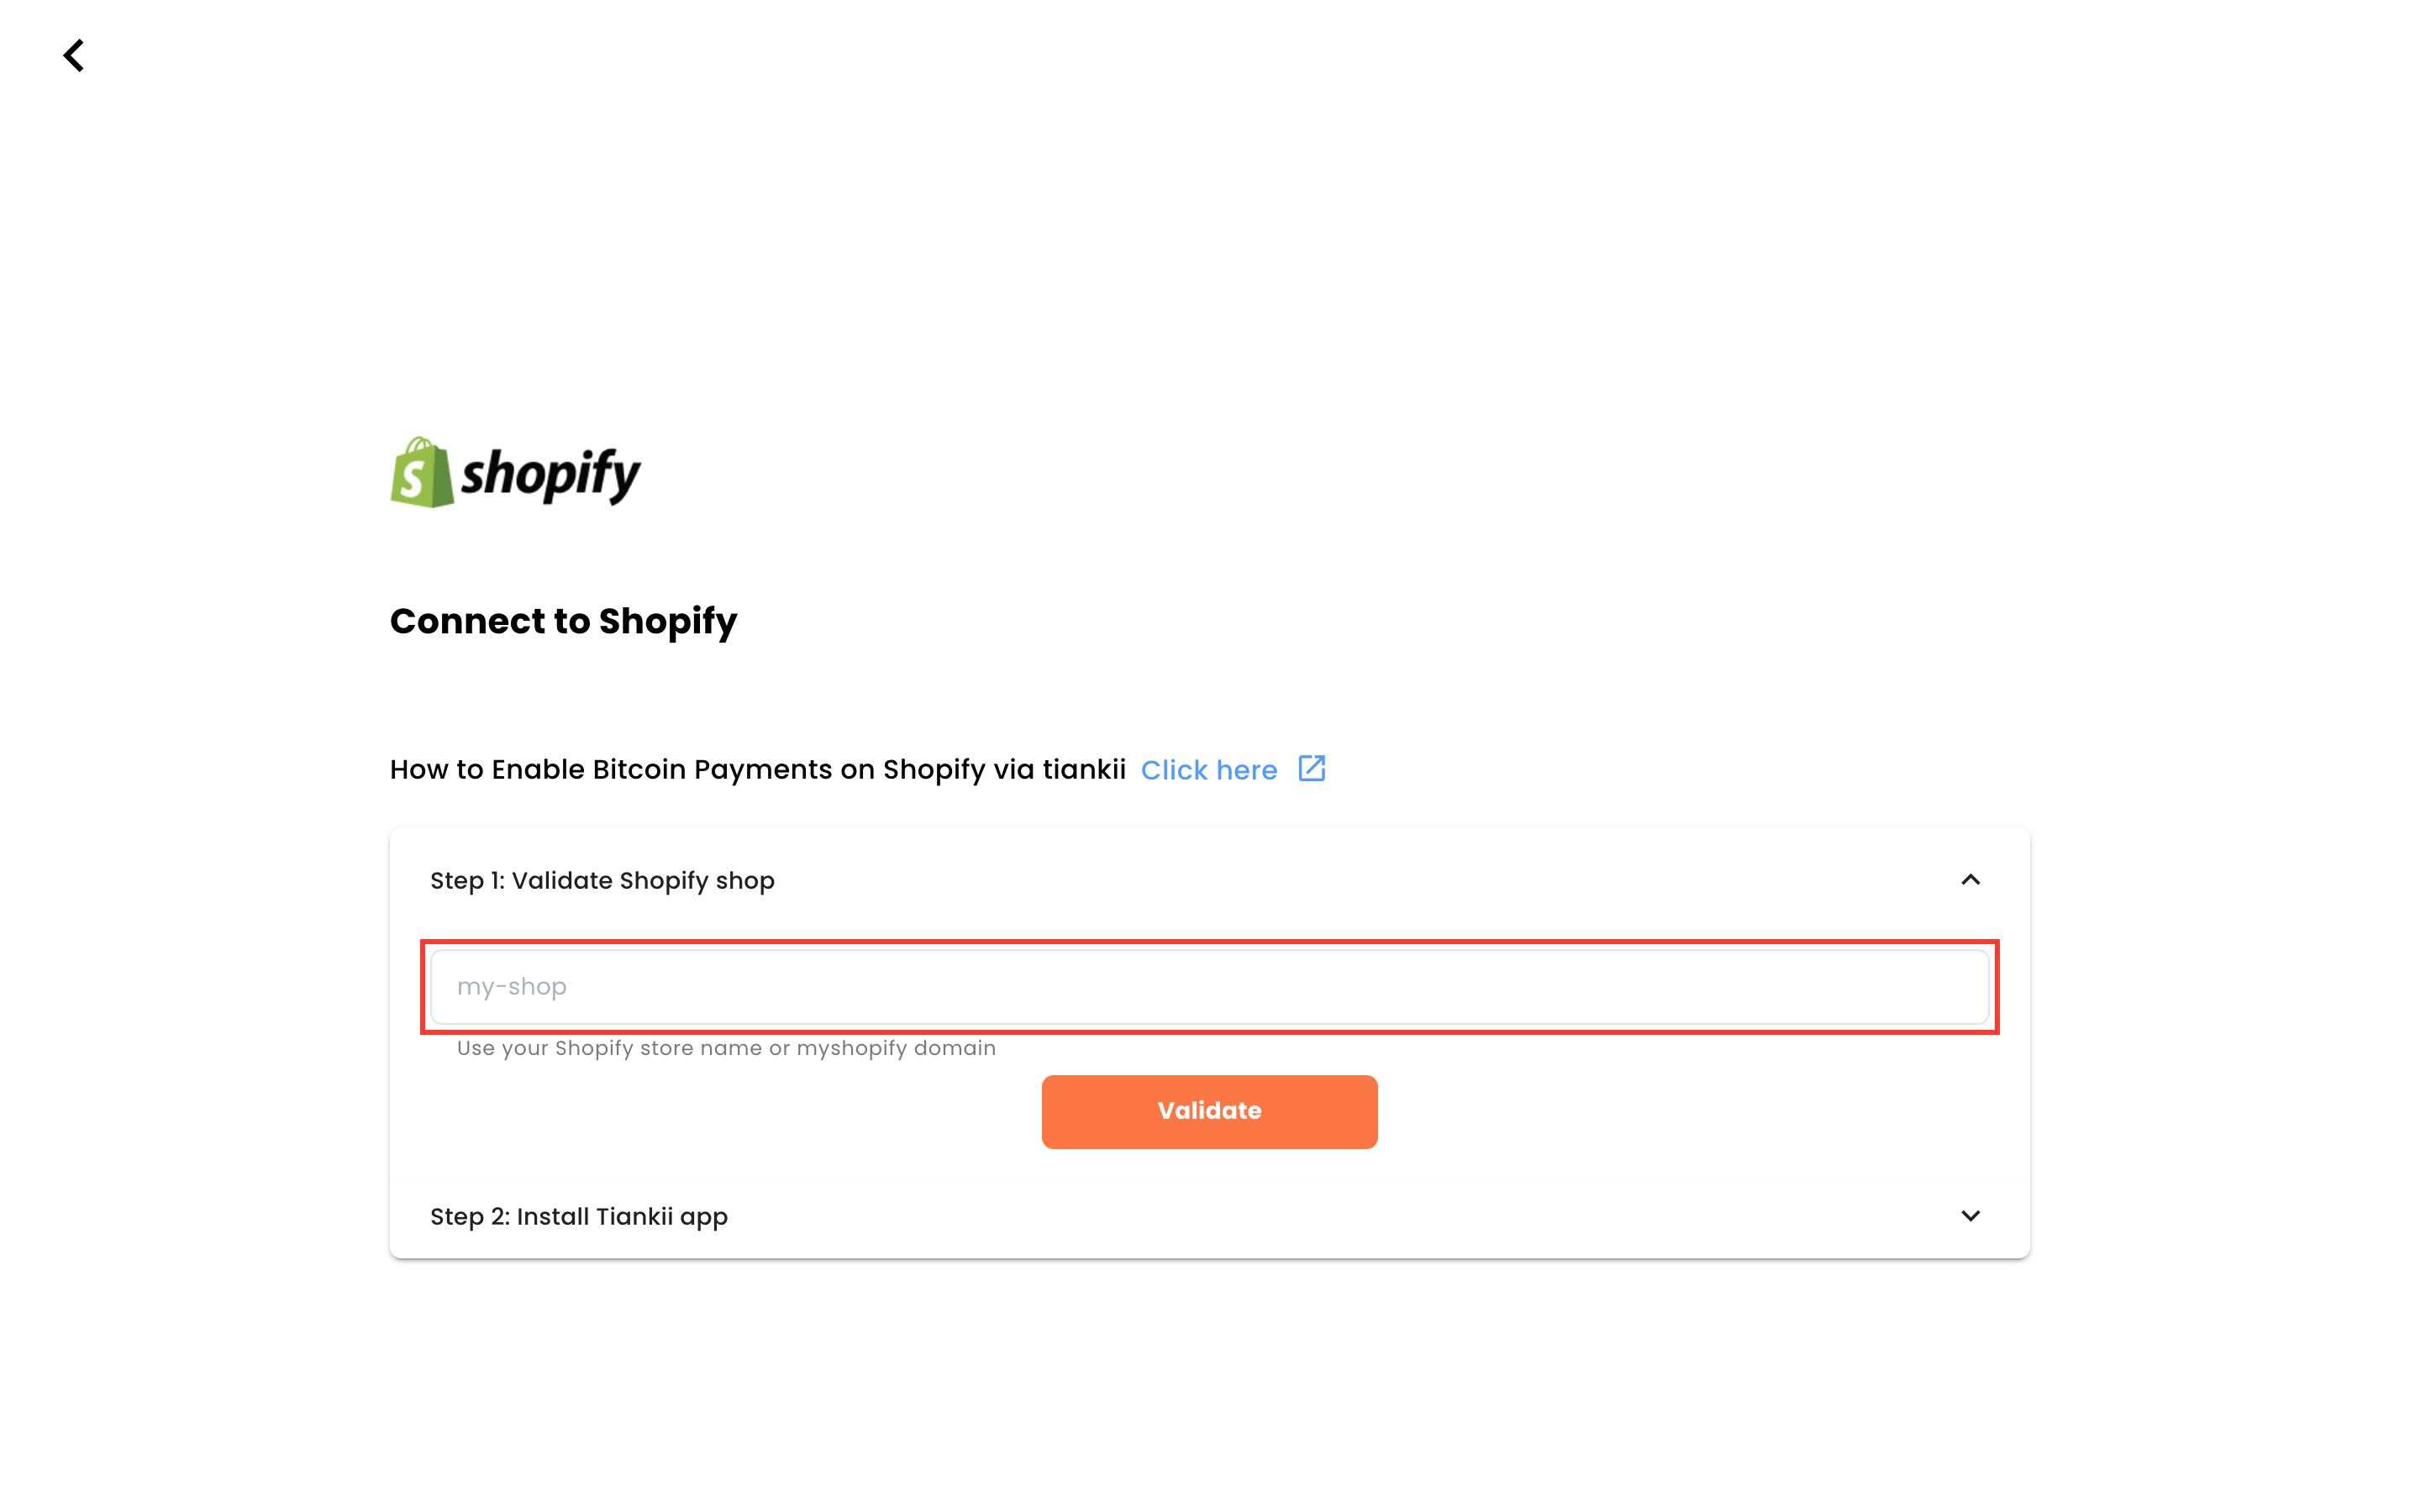
- On Starter, press Connect on the Shopify card. The page title is Connect to Shopify.
- Step 1: Validate Shopify shop says Use your Shopify store name or myshopify domain. The field shows the example my-shop. Press Validate.
- The page also shows Step 2: Install Tiankii app. The clicks inside that second step are not described here.
The paragraph at the top of the form makes a fee claim and assigns the feature to Shopify. This article does not repeat it. The fee sentence that belongs here is the one in the section above. Shopify may charge its own fees. This article does not say that Shopify charges nothing.
What you should see
On Freemium, the locked card and the upgrade dialog. On Starter, the store-name field and the two step titles. The article does not describe a success message.
If something fails
| What you see | What it means | What to do |
|---|---|---|
| The card has no Connect button. | The store is on Freemium. | Connectors open from Starter. An existing connection keeps working, as the card says. |
| An older article tells you to create a token inside a custom app. | That is not the form on the screen today. | Use the store name or the myshopify domain, then Validate. |
Questions
Does tiankii take a cut of each Shopify payment? tiankii does not take a commission on each payment. Your plan includes a monthly volume; if you go over it, an overage charge may apply under Section V of the Terms. Shopify, WooCommerce and Cloudbeds may charge their own fees.
Where do I paste a secret? This screen does not ask for one. It asks for the store name or the myshopify domain.
Related articles
Related Articles
Enable Bitcoin Payments on Cloudbeds via tiankii
Enable Bitcoin payments on Cloudbeds The Cloudbeds connector asks you to configure each property: a property id, an app, an API key, the name of the payment method, and the pay button text. The screen also shows CSS Link and JS Script. Who this is ...Enable Bitcoin Payments on WooComerce via Tiankii
Enable Bitcoin payments on WooCommerce The WooCommerce connector asks for your WordPress address, then shows two step titles: get a store id, and install the tiankii plugin. The screen does not ask you to upload a plugin zip from this page. Who this ...Set up My Bitcoin Place
Set up My Bitcoin Place My Bitcoin Place is the public page of the store. You edit it from Payment Tools, preview it on the same screen, and open the public page. The button Manage Products was disabled in this check, so this guide does not describe ...The Payment Didn't Arrive: What to Check, Step by Step
The payment didn't arrive: what to check, step by step There is a customer in front of you, the screen did not say what you expected. This guide is written for that moment first, and for the calmer investigation afterwards second. The one rule that ...How to Connect Your Bitcoin Lightning Wallet to tiankii
How to connect your Bitcoin Lightning wallet to tiankii Connecting a wallet is the first thing you do in the tiankii Merchant Dashboard, and it is the step that makes everything else possible: points of sale, payment links and e-commerce connectors ...